Step 1: Add a New Fail2ban Jail
Edit jail.local file:
sudo nano /etc/fail2ban/jail.localAdd a new jail "nginx-http-auth" if it doesn't exist:
[nginx-http-auth]

enabled  = true
port     = http,https
logpath = %(nginx_error_log)s
Note
This jail will use nginx-http-auth filter and use default settings to ban, which my configuration:bantime = 604800findtime = 100maxretry = 2
means that if there is a failed attempt twice within 100 seconds, then the IP will be banned for 604800 seconds.
After saving jail.local file, restart fail2ban with:
sudo systemctl restart fail2banStep 2: Create a htpasswd
To start out with nginx authentication, you need to install apache2-utils package which serves the htpasswd utility.
Install the apache2-utils package on your server by typing:
sudo apt update
sudo apt install apache2-utils
Now, you have access to the htpasswd command. Specify a username at the end of the command to create a new entry within the file:
sudo htpasswd -c /etc/nginx/.htpasswd ariq/etc/nginx/ with username ariqYou will be asked to supply and confirm a password for the user.
To add additional users on the same .htpasswd file, leave out the -c :
sudo htpasswd /etc/nginx/.htpasswd adminLet's see the contents of the file with cat:
cat /etc/nginx/.htpasswdOutput:
root@server:~# cat /etc/nginx/.htpasswd
ariq:$apr1$x98Xk7n4$3wl.6fw6zpdHUUSfzYdv7/
admin:$apr1$mdVddE52$v5H7E9GEENz0NgWxEAjah1To begin setting up nginx authentication, add auth_basic and auth_basic_user_file on your active nginx virtual host. For example, I added on /etc/nginx/conf.d/default.conf :
server {
  server_name pma.ns1.my.id;
  root /var/www/html/;
  index index.php index.html;

  auth_basic "Restricted Content";
   auth_basic_user_file /etc/nginx/.htpasswd;

  location / {
    try_files $uri $uri/ /index.php;
  }
Step 3: Let's try it out!
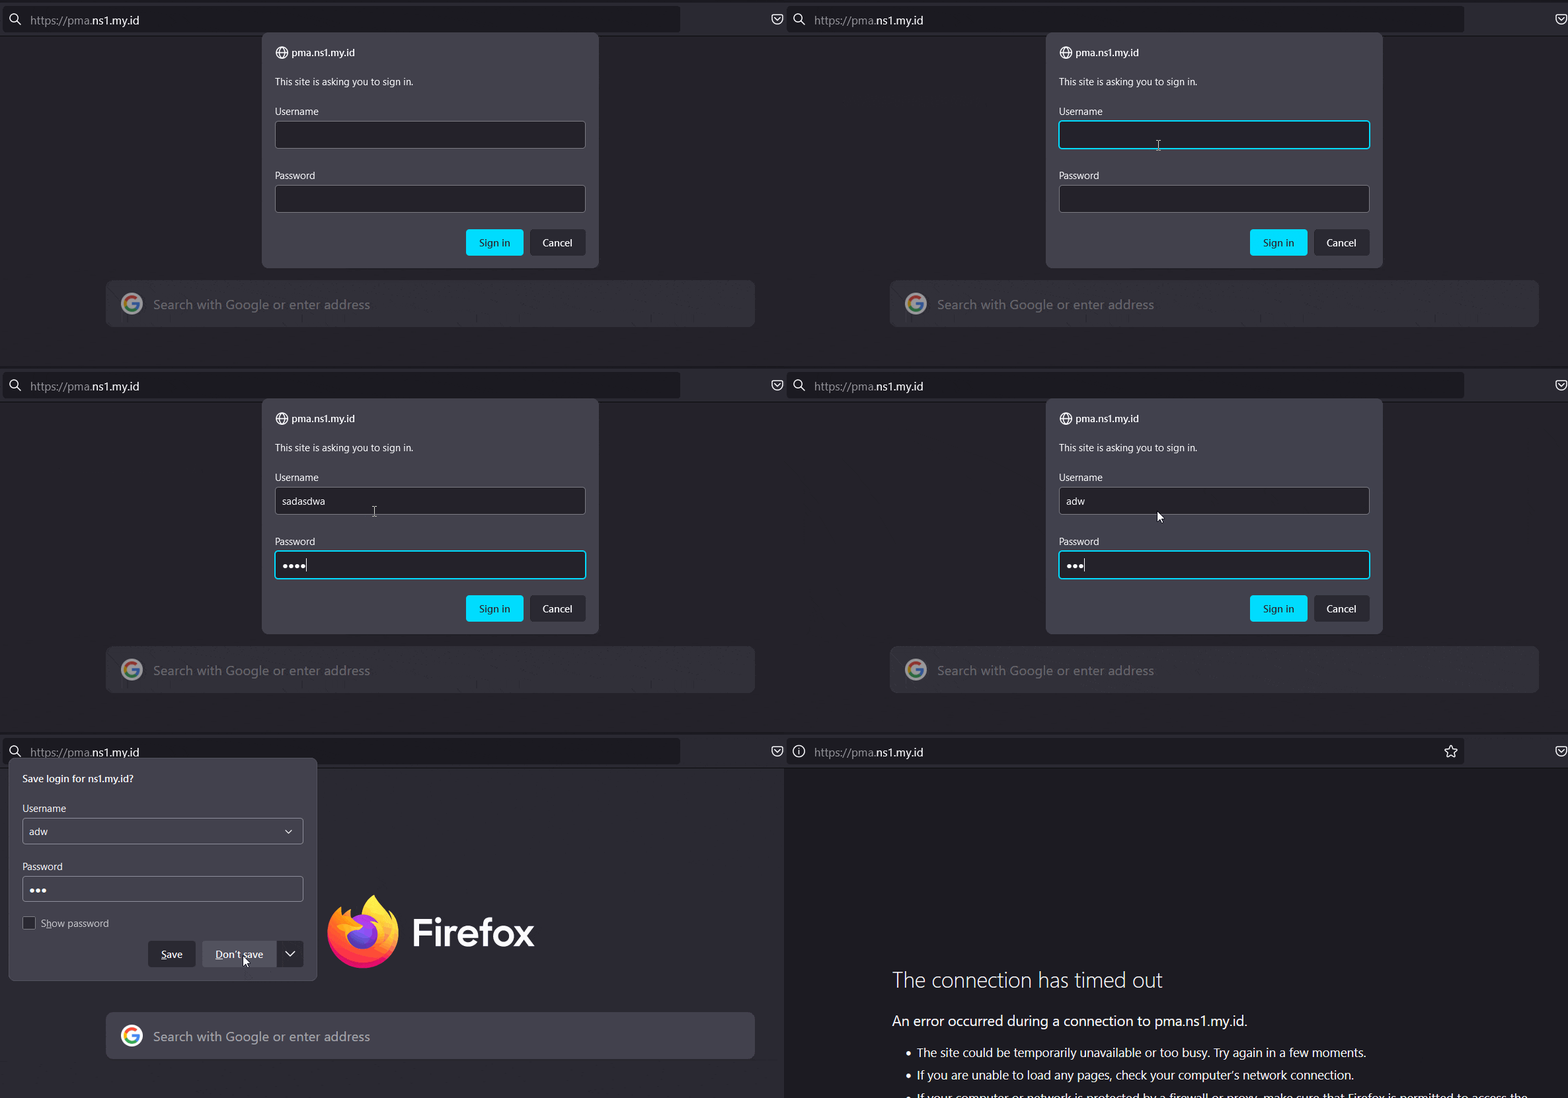
Let's try creating an error to trigger fail2ban jail.
Open phpmyadmin url on a web browser, and then fill wrong input on username and password twice.

List Blocked IP
To get a list of blocked IPs in your server, run the following command:
fail2ban-client status nginx-http-authUnblock IP
To unblock banned IPs, run the following command
fail2ban-client set nginx-http-auth unbanip 111.222.333.444Thanks for reading!