
On this post, I will explain how to Securely Sharing Storage with NFS and Tailscale.
I have 2 VPS with 1 production vps (with nvme) and 1 storage vps (hdd ssd-cached), so its good for me to backup some of my website data in production vps to storage vps with NFS.
NFS is unencrypted by default, so it's totally not secured if you are used it on public internet, however you can encrypt it with wireguard like on Daniel's blog or use tailscale like on this tutorial 😁 :
If you have installed tailscale before, and your machines are already connected to tailscale, you will get private ip for each machines you have connected, and replace my IP on this post with yours.
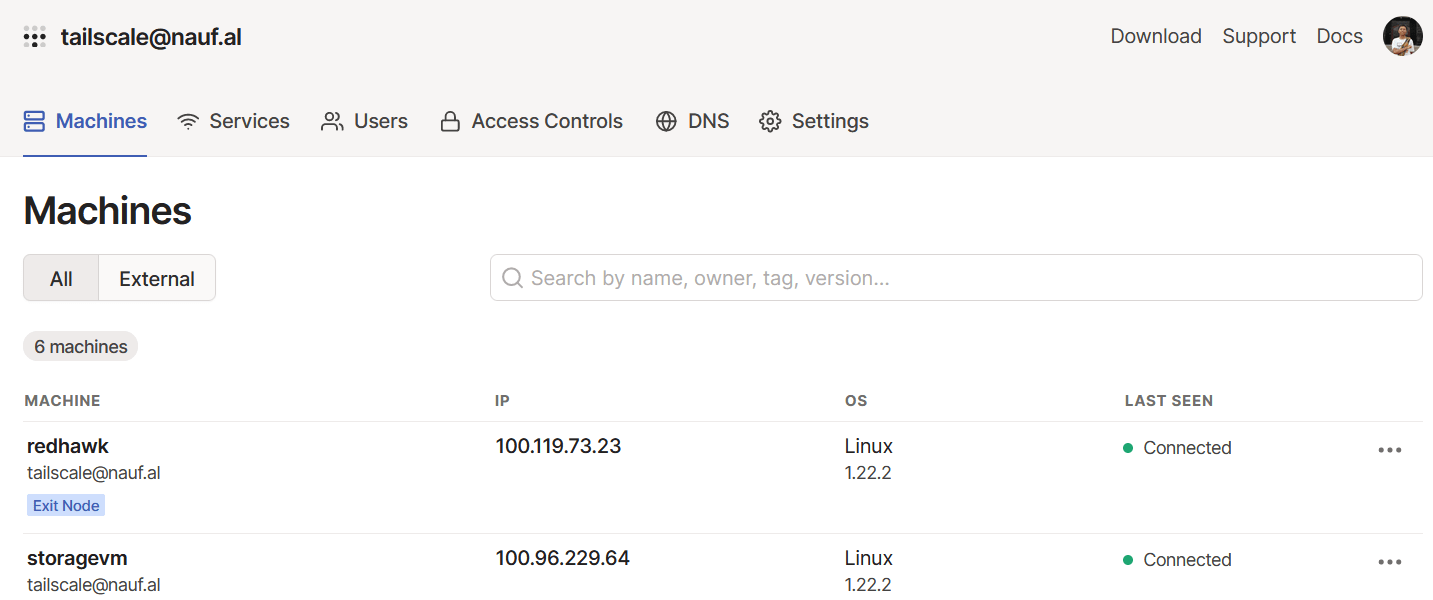
This tutorial will use this following IP, so make sure you replace with your own IP :
- redhawk (100.119.73.23) as primary server
- storagevm (100.96.229.64) as storage server
How NFS Works?

What is NFS
NFS is (Network File System) an Internet Standard, client/server protocol developed in 1984 by Sun Microsystems to support shared, originally stateless, (file) data access to LAN-attached network storage. As such, NFS enables a client to view, store, and update files on a remote computer as if they were locally stored. It allow us to share file between all operating system. The main versions in deployment these days (client and server) are NFSv3, NFSv4, and NFSv4.1.
Why Use NFS
- NFS can help us to access remote file on local system.
- We can Setup Centralize storage using NFS
- We can backup our data to remote server with the help of NFS.
NFS Server
On the NFS Server (here: storagevm/100.96.229.64 as storage server), let’s first update the system packages using this command:
sudo apt update
next, install nfs-kernel-server package :
sudo apt install nfs-kernel-server
The next step will be creating a directory that will be shared among client systems. This is also referred to as the export directory and this directory will be accessible by nfs client systems.
Run the command below by specifying the NFS mount directory name.
sudo mkdir -p /data/hello-world
Edit the /etc/exports file, which lists the server's filesystems to export over NFS to client machines. And create the NFS table with exportfs -a.
The following example shows the addition of a line which adds the path "/data/hello-world", for grant access to nfs-client IP (here: redhawk/100.119.73.23).
echo "/data/hello-world 100.119.73.23(rw,sync,no_root_squash,no_subtree_check)" >> /etc/exports
explanation :
- rw: Stands for Read/Write.
- sync: Requires changes to be written to the disk before they are applied.
- no_root_squash : Since in this tutorial both machine use root, so you'll need it to work properly
- no_subtree_check: Eliminates subtree checking.
next, create the NFS table :
exportfs -a
don't forget to restart nfs-kernel-server
systemctl restart nfs-kernel-server
Optional : Only NFSv4
= = Skip this step if you need NFSv3 as well. = =
A best practice these days is to only enable NFSv4 unless you really need NFSv3. If you use Windows OS or macosx machines as nfs-client, ensure enable NFSv3 and NFSv4 simultaneously but don't forget about the security risks of NFS with clients that can not be trusted.
To enable only NFSv4, set the following variables in /etc/default/nfs-common:
NEED_STATD="no"
NEED_IDMAPD="yes"
Next, add the following variables in /etc/default/nfs-kernel-server. Note that RPCNFSDOPTS is not present by default, and needs to be added.
RPCNFSDOPTS="-N 2 -N 3 -H 100.96.229.64"
RPCMOUNTDOPTS="--manage-gids -N 2 -N 3"
*100.96.229.64 as my storage server, so replace with your storage vm IP
Additionally, rpcbind is not needed by NFSv4 but will be started as a prerequisite by nfs-server.service. This can be prevented by masking rpcbind.service and rpcbind.socket:
systemctl mask rpcbind.service
systemctl mask rpcbind.socket
and restart nfs-kernel-server
systemctl restart nfs-kernel-server
NFS Client
On the NFS client (here: redhawk (100.119.73.23) as primary server), you need to install the nfs-common package, as usual don't forget to update your system package first ! 😅
apt update
apt install nfs-common
After that, let's create a mount point on which you will mount the nfs share from the NFS server.
mkdir -p /mnt/data
Now, you can use the mount command to mount the directory over NFS:
mount -t nfs 100.96.229.64:/data/hello-world /mnt/data/
Verify NFS Server and NFS Client
After redhawk (100.119.73.23) as nfs-client successfully mounted nfs-server:/data/hello-world to local/mnt/data directory, we can verify by create a few files :
cd /mnt/data
touch a b c z && echo "okemantap" > z
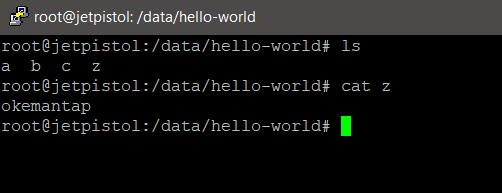
Now check on /data/hello-world in storagevm (100.96.229.64) or storage server
cd /data/hello-world
ls
Reference :
Make it Permanent
Make this permanent by add this mount in /etc/fstab.
Add a new line /etc/fstab after file system:
100.96.229.64:/data/hello-world /mnt/data/ nfs4 auto,vers=4.2Test the mount configuration without rebooting with:
mount -aKnown Issue
Everytime we added a new line in exportfs in NFS server, the nfs server service need to be restart but it can't be restarted.
× nfs-server.service - NFS server and services
     Loaded: loaded (/usr/lib/systemd/system/nfs-server.service; enabled; preset: enabled)
    Drop-In: /run/systemd/generator/nfs-server.service.d
             └─order-with-mounts.conf
     Active: failed (Result: exit-code) since Fri 2025-11-28 13:43:51 WIB; 6s ago
    Process: 767367 ExecStartPre=/usr/sbin/exportfs -r (code=exited, status=0/SUCCESS)
    Process: 767369 ExecStart=/usr/sbin/rpc.nfsd (code=exited, status=1/FAILURE)
    Process: 767372 ExecStopPost=/usr/sbin/exportfs -au (code=exited, status=0/SUCCESS)
    Process: 767377 ExecStopPost=/usr/sbin/exportfs -f (code=exited, status=0/SUCCESS)
   Main PID: 767369 (code=exited, status=1/FAILURE)
        CPU: 29ms

Nov 28 13:43:51 usbackup systemd[1]: Starting nfs-server.service - NFS server and services...
Nov 28 13:43:51 usbackup rpc.nfsd[767369]: rpc.nfsd: writing fd to kernel failed: errno 111 (Connection refused)
Nov 28 13:43:51 usbackup rpc.nfsd[767369]: rpc.nfsd: unable to set any sockets for nfsd
It said rpc.nfsd conntection refused.
It's because we have masked the rpcbind.service and rpcbind.socket.
We need to unmask rpcbind service and socket by using this command:
systemctl unmask rpcbind.service
systemctl unmask rpcbind.socket
systemctl start rpcbind.service
systemctl start rpcbind.socket
Restart the nfs kernel service to apply new configuration in /etc/exportfs
systemctl restart nfs-kernel-serverAfter successfully restart, it's recommended to mask and stop the rpcbind service and socket again because NFSv3 has been associated with several vulnerabilities, primarily due to improper input validation within the Linux kernel's sunrpc and nfsd subsystems when handling Network File System (NFS) requests.
It leads our server unresponsive. I've faced it because i forgot to mask and stop rpcbind service and socket. My VPS like been DDoSed by some bot.
Check listening / open ports with command lsof -i